
Expedition Antarctica Getting Started at Base Camp
First steps before Camp 1 and the Standard route
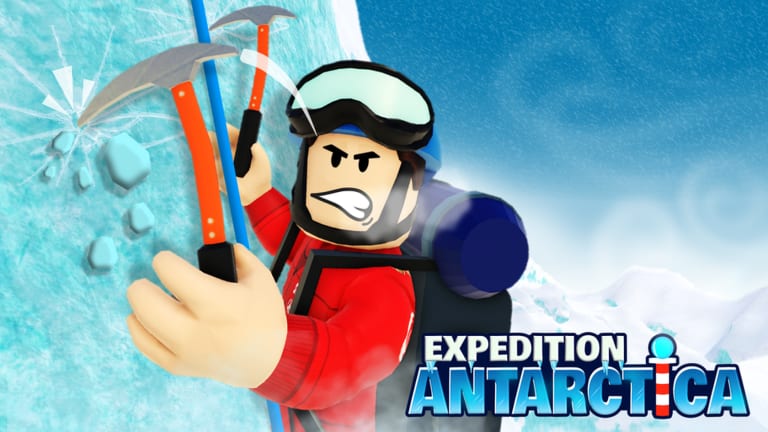
Your first hour at Base Camp
Expedition Antarctica drops you at Base Camp, the hub where you pick difficulty, load consumables, review missions, and choose a route gate. Playduo Studio designed the loop around repeated expeditions: each run teaches rope timing, camp refills, and when to turn back before hydration hits zero.
Before stepping onto the ice, open Controls and practice climbing a short wall near camp. Familiarity with grab, rest, and jump inputs prevents early falls that waste energy.
Choosing difficulty and route
Select Easy, Normal, Hard, or Legends from the Base Camp board. First-timers should stay on Easy or Normal with the Standard route — follow red poles and fixed ropes. Royal Ascent and Advanced routes stay locked until you meet summit requirements listed on Advanced routes and our route unlock checklist.
Camp progression overview
The classic path runs Base Camp → Camp 1 → Camp 2 → Camp 3 → Camp 4 → South Pole marker. Each camp offers refill stations, shelter from storms, and shorter re-entry if you wipe. Camps and landmarks maps every stop.
Camp 1 sits closest to Base Camp and teaches exposure without long recovery walks. Camp 2 introduces steeper ice and longer gaps between anchors. By Camp 3 you should understand hydration timers; Camp 4 is the last safe hub before the pole push described in How to reach South Pole.
Energy, water, and inventory
You cannot out-DPS dehydration. Carry water before leaving camp, eat when energy dips, and rest on anchors during whiteouts. Full mechanics are on Energy and water. Running dry mid-route forces a expensive retreat — often worse than a planned abort at the previous camp.
Missions and unlocks
Check Missions at Base Camp daily. They guide you toward badge goals, route unlocks, and gear familiarity. Completing starter missions also introduces Abandoned routes lore zones without requiring them for your first summit.
Group perk and social play
Join Roblox group 4626344 for +25% fall resistance — valuable on Falling and climbing sections. For team tactics read Solo vs group tips. Community help lives on Discord.
Gamepasses — buy later
You do not need paid boosts to finish your first Standard summit. When you repeat grind routes, compare Extra Stamina and Storm Goggles on Worth buying.
Next steps
After one successful Camp 2 turnaround, study Camp 2 to 3 and Storms and weather. Track badges on Badge checklist.
Base Camp facilities in detail
The Base Camp hub clusters mission terminals, difficulty boards, route portals, a practice wall, refill vendors, and social meeting points. Spend ten minutes walking the perimeter before your first departure. Locate the water refill interact prompt and test it with an empty bottle so you recognize the UI under stress later. Note which portal corresponds to Standard route versus locked Royal Ascent gates so you do not accidentally enter advanced geometry without supplies.
Talk to NPCs or read boards if present in your instance — Playduo Studio occasionally adds tutorial pointers after Updates events. Even veterans re-walk Base Camp after patches because spawn layouts can shift.
Your first Standard turnaround target
Set a realistic first goal: reach Camp 2 and return to Base Camp without hitting critical hydration. That teaches retreat judgment more than forcing Camp 3 with empty bottles. On success, log what food you consumed and how many rests you took on ropes. Compare the next run using Energy and water tips. Only after two clean Camp 2 turnarounds should you prioritize Camp 2 to 3 as a stretch goal.
Difficulty selection advice for day one
Easy reduces storm frequency and softens fall damage — ideal if Roblox climbing is new to you. Normal is the social default if you already play similar obstacle games. Avoid Hard and Legends until you understand anchor resting; see Difficulties for scaling detail. Difficulty can be changed at Base Camp between runs, so experimenting on Easy does not lock you out of Normal badge credit later.
Social hooks early
Add the Discord server from Links and introduce yourself in LFG channels with your platform (PC/mobile/console) and goal (learning Camp 2). Groups often recruit at Base Camp instances — accept invites only if leaders reference red pole routes and hydration checks, not script shortcuts from Scripts hub.
Frequently Asked Questions
Quick answers to the most common Expedition Antarctica questions.
What is Base Camp in Expedition Antarctica?
Base Camp is the spawn hub where you pick [Easy/Normal/Hard/Legends](/guides/difficulties/), accept [Missions](/guides/missions/), refill supplies, and enter route gates toward [Camp 1](/routes/camps-and-landmarks/). Practice [Controls](/guides/controls/) on the tutorial wall before crossing the ice.
Which route should beginners take?
Use the [Standard route](/routes/standard-route/) marked by red poles until Camp 2 turnarounds feel easy. [Royal Ascent](/routes/royal-ascent/) and [Advanced routes](/routes/advanced-routes/) stay locked until mission and summit requirements on the [Route unlock checklist](/tools/route-unlock-checklist/).
What free perk should I claim early?
Join Roblox group **4626344** for +25% fall resistance — linked on [Official links](/links/). It helps on first rope sections described in [Falling and climbing](/guides/falling-and-climbing/) and costs no Robux unlike [Extra Stamina](/gamepasses/extra-stamina/).
How do camps progress toward the South Pole?
The classic chain is Base Camp → Camp 1 → Camp 2 → Camp 3 → Camp 4 → [South Pole](/guides/how-to-reach-south-pole/) marker. Each camp refills water and blocks storms partially. Read [Camps and landmarks](/routes/camps-and-landmarks/) for the full map mental model.