
Expedition Antarctica How to Reach the South Pole
Camp 4 summit bid on Standard, Royal, and Advanced routes
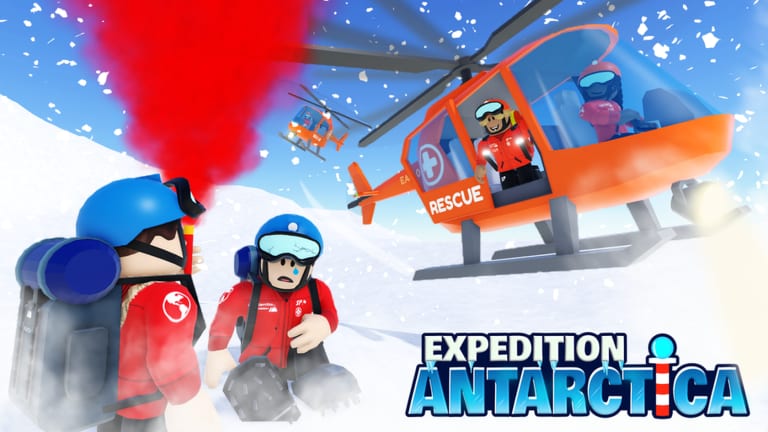
What “South Pole” means in-game
The South Pole is the expedition endpoint: a marker beyond Camp 4 that completes the core fantasy Playduo Studio built around Antarctica. Reaching it requires route knowledge, full hydration planning, storm awareness, and often multiple practice runs to Camp 3 and back.
This is not a teleport destination. You walk the same glacier network documented on Standard route, Royal Ascent, or unlocked Advanced lines depending on your build.
Recommended prep checklist
Before a pole attempt, confirm:
- Difficulty choice — Legends pole runs are bragging-rights content; first pole should be Normal or Hard with known weather.
- Route unlock — Advanced poles need prior summits; verify on Route unlock checklist.
- Supplies — Double water and food timers from Energy and water; use Camp refill checklist.
- Gear clarity — Storm Goggles for whiteouts; Extra Stamina for long vertical chains.
- Team plan — Guide role and Search and Rescue shine on pole day; see Solo vs group.
Stage-by-stage push
Base Camp to Camp 1 — Warm up controls, accept missions, follow red poles on Standard. Camp 1 to 2 — Steeper ice; learn rest points. Camp 2 to 3 — Longest stamina test for many; read Camp 2 to 3 route guide. Camp 3 to 4 — Exposure and wind; see Camp 3 to 4. Camp 4 to pole — No new camp; treat as a summit bid with abort rules if hydration drops below half.
Weather and abort criteria
Storms at Camp 4 should trigger delay, not heroics. Set group abort calls: if two players drop below critical hydration, everyone returns to Camp 4 shelter. Falling and climbing mistakes near the pole cost more time than waiting out visibility.
Route variants at the pole
Standard pole follows red pole line continuity. Royal Ascent adds verticality before merging toward the marker. Advanced 5/10/15 each alter segment difficulty — pick the variant you have drilled on Advanced routes. Abandoned routes are optional lore paths; they do not replace the pole requirement for main progression badges.
After your first pole
Grind Exploration badges and Speedrun badges. Push Hard and Legends for leaderboard credibility. Stay updated via Updates hub — pole timing can shift when physics patches land.
Community resources
LFG for pole trains on Discord. Official links on Links hub. No promo codes apply — Codes page explains why.
Camp 4 to South Pole micro-segment guide
After Camp 4, treat every rope move as irreversible commitment until the next anchor. There is no Camp 5 refill; what you carry is what you have until return or summit. Walk the first hundred meters slowly to confirm storm audio and wind direction. If gusts spike, use Camp 4 shelter rather than “just one more section” optimism that causes most pole wipes.
Pole marker visibility varies by weather and route variant. Standard poles continue with a distinct final color change near the end — players often miss it during whiteouts even with Storm Goggles. Royal Ascent may drop you onto a merging ridge; confirm map position against Camps and landmarks mental model before sprinting.
Multi-run training plan
Run A: Camp 4 recon without pole — learn abort paths. Run B: pole touch on Easy for route memory. Run C: Normal pole with full supplies and clear weather forecast. Run D: Hard pole for badge credit on Badge checklist. Run E: Legends only with Extra Stamina and team SAR from Search and Rescue. Skipping runs causes pole day confusion that looks like “bad luck” but is actually missing spatial memory.
Post-summit priorities
After your first marker touch, turn back with enough hydration for descent — celebrating at the pole then dying on return still counts as a failed expedition emotionally even if badges proc’d. Log time splits for Speedrun badges. Start Advanced route unlock missions the same week while Standard pathing remains fresh.
Mental checklist at Camp 4 gate
Ask aloud: water full, food stocked, storm level acceptable, team synchronized, abort rules agreed, mission pins compatible, route variant confirmed, goggles equipped if owned, group fall perk active. Twelve seconds of verbal checklist prevents hour-long mistake walks back from false starts toward pole marker.
Narrative motivation without codes
No codes grant pole teleports — narrative satisfaction comes from footsteps you actually walked on Standard or Royal lines. Screenshot pole marker with friends; post on Discord with difficulty tag to inspire newcomers browsing Getting started.
Frequently Asked Questions
Quick answers to the most common Expedition Antarctica questions.
Do you need Camp 4 before the South Pole?
Yes for practical progression. Camp 4 is the last major refill hub in Playduo Studio layout. Attempting the pole marker with Camp 3 supplies usually fails hydration checks detailed in [Energy and water](/guides/energy-and-water/) and [Camp refill checklist](/tools/camp-refill-checklist/).
Which difficulty is best for a first pole?
Most players first touch the pole on [Normal](/guides/difficulties/) with the [Standard route](/routes/standard-route/). [Hard](/guides/difficulties/) and [Legends](/guides/difficulties/) are for badge prestige and [Speedrun badges](/badges/speedrun-badges/) after navigation is automatic.
How do storms affect pole day?
Whiteouts near Camp 4 should trigger delay, not heroics. Read [Storms and weather](/guides/storms-and-weather/) severity levels. [Storm Goggles](/gamepasses/storm-goggles/) help visibility but do not remove drain penalties or wind push on [Camp 3 to 4](/routes/camp-3-to-4/) ridges.
Can Advanced routes reach the same pole?
Unlocked [Advanced 5/10/15](/routes/advanced-routes/) variants merge toward the same endpoint if missions allow. Confirm active [Missions](/guides/missions/) text at Base Camp — route variant and difficulty may need to match board requirements.